Introduction
If you have an email account with your domain like john@yourdomain.com and want to setup this email on Android device then this tutorial is exactly for you.
What you’ll need
Before you begin this guide you’ll need the following:
- Email account. On Shleeq, you can send us a mail to support@shleeq.com with the emails you want and we will create it for you.

Adding new email account to Android
You can use any email client that you have available on your Android device. For our example, we are going to use Gmail mail client, but most steps will be almost the same on other mail clients as well.
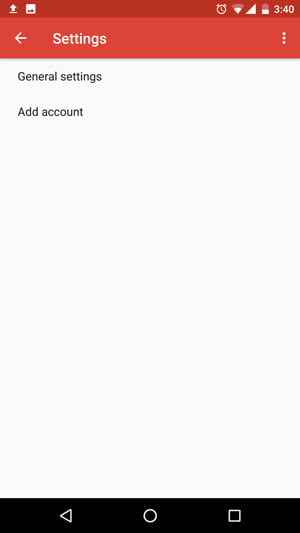
Firstly access your mail client app on Android device and go to Settings -> Add Account section.
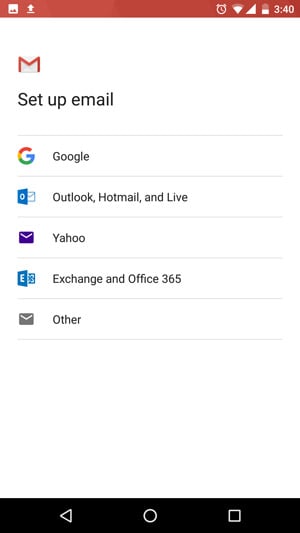
Select Other from the list to add your custom email account.
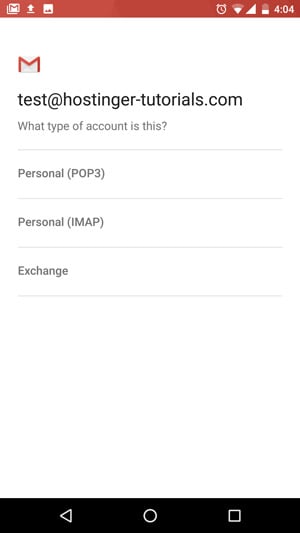
Enter your email address and click Next.

Select which type of incoming server you want to use – POP3 or IMAP. Generally, it is advised to use IMAP so you could synchronize all emails across multiple different devices. On Hostinger, both protocols as fully supported.
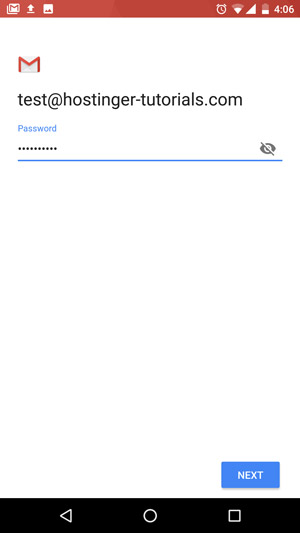
Enter your email account password and click Next.
For incoming server settings, you need to specify the correct mail server address. On Hostinger you can find your server name on Control Panel – > Manage Emails section. Once you are done, hit Next.
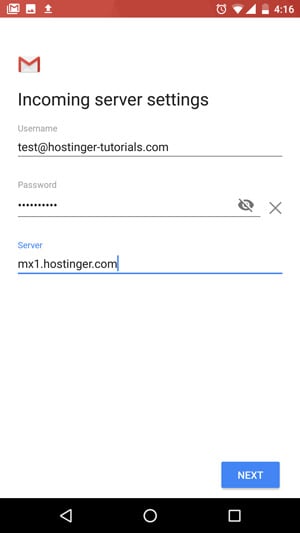
If you are using other hosting than Hostinger, it’s possible that automatic configuration of email server will fail. In this case, you may be asked to enter the following details:
- Username – your email address.
- Password – your email account password.
- Server – Usually you can use your domain name or mail.yourdomain.com . To be sure, you can contact hosting provider for such details.
- Port – Ports can depend on the hosting provider as well, but the default ports for POP3 and IMAP are:
- 110 POP3 without SSL
- 143 IMAP without SSL
- 993 IMAP with SSL
- 995 POP3 with SSL
- Security type – This option should be used if you want to use mail services with SSL/TLS certificate. If no certificates are used then select None.
- Delete email from server – If you want to remove emails from the server when you remove them via your mail app then select When I delete from Inbox option. If you do not want to remove emails from the server then select Never.
Just like with incoming server, you need to change the outgoing email server name.
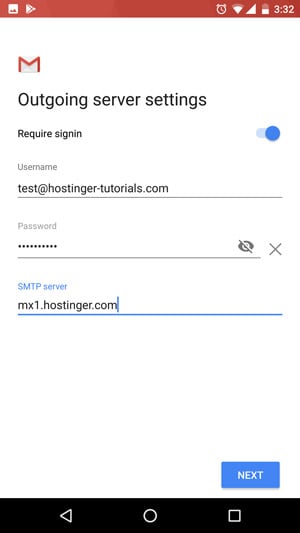
If you are using another hosting provider than Hostinger, you may be asked to manually enter SMTP port and choose security type. It’s recommended to choose SSL/TSL or STARTTLS security type and check with your hosting provider regarding SMTP port. When all details are entered click Next.
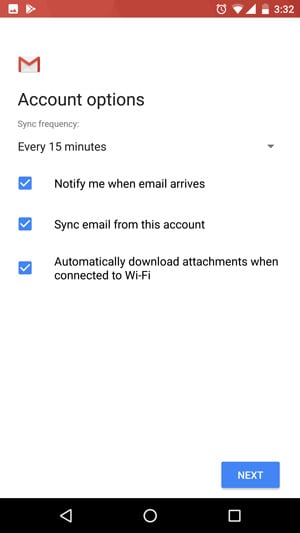
Select time intervals that you want to synchronize your emails with the mail server. If frequent mail synchronization is not necessary then it is advised to select a higher number in order to reduce battery usage. Additionally, you can select to be notified when an email comes, to sync emails from this account and to automatically download attachments when on Wi-Fi. If all settings were accepted then you will receive a confirmation message.
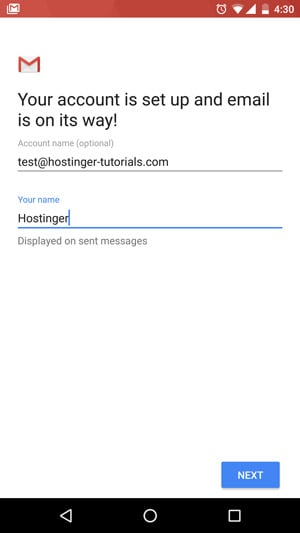
That’s it, now you can use your personal email address with your mail client on Android device.
Conclusion
Following this tutorial will help you setup email on Android device. Now you can read and answer emails on your phone.


Leave A Comment